Search the Community
Showing results for tags 'enclosure'.
Found 2 results
-
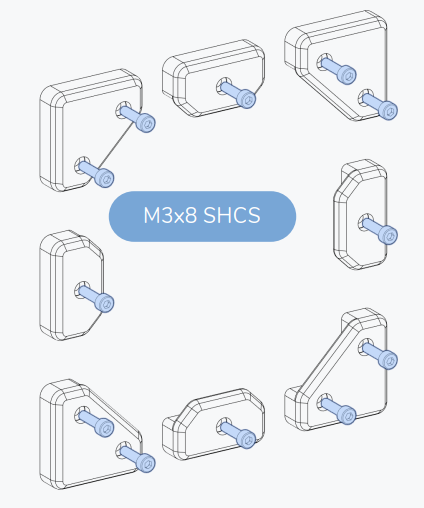
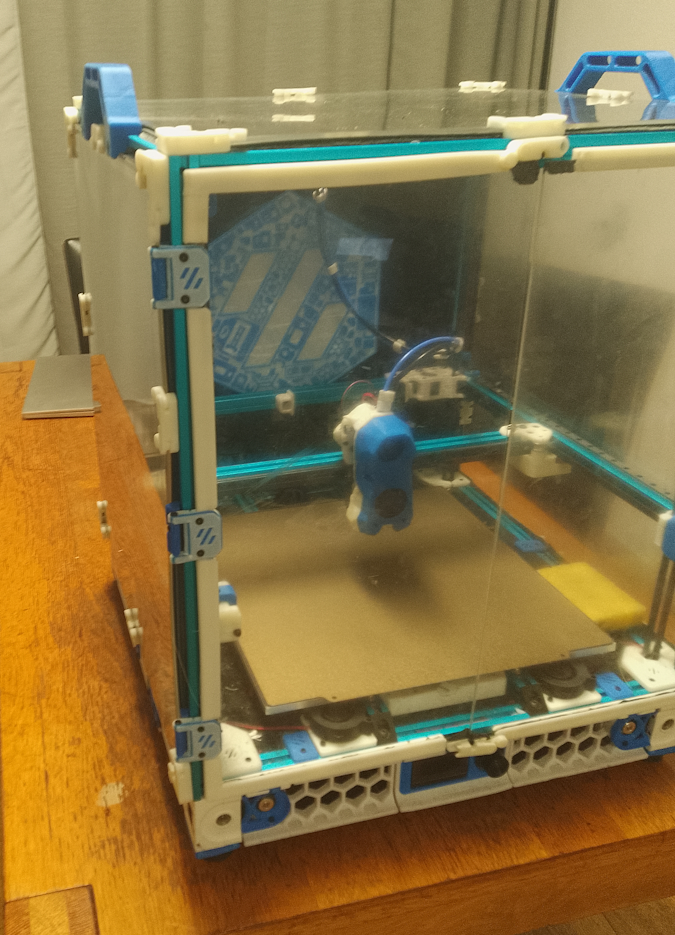
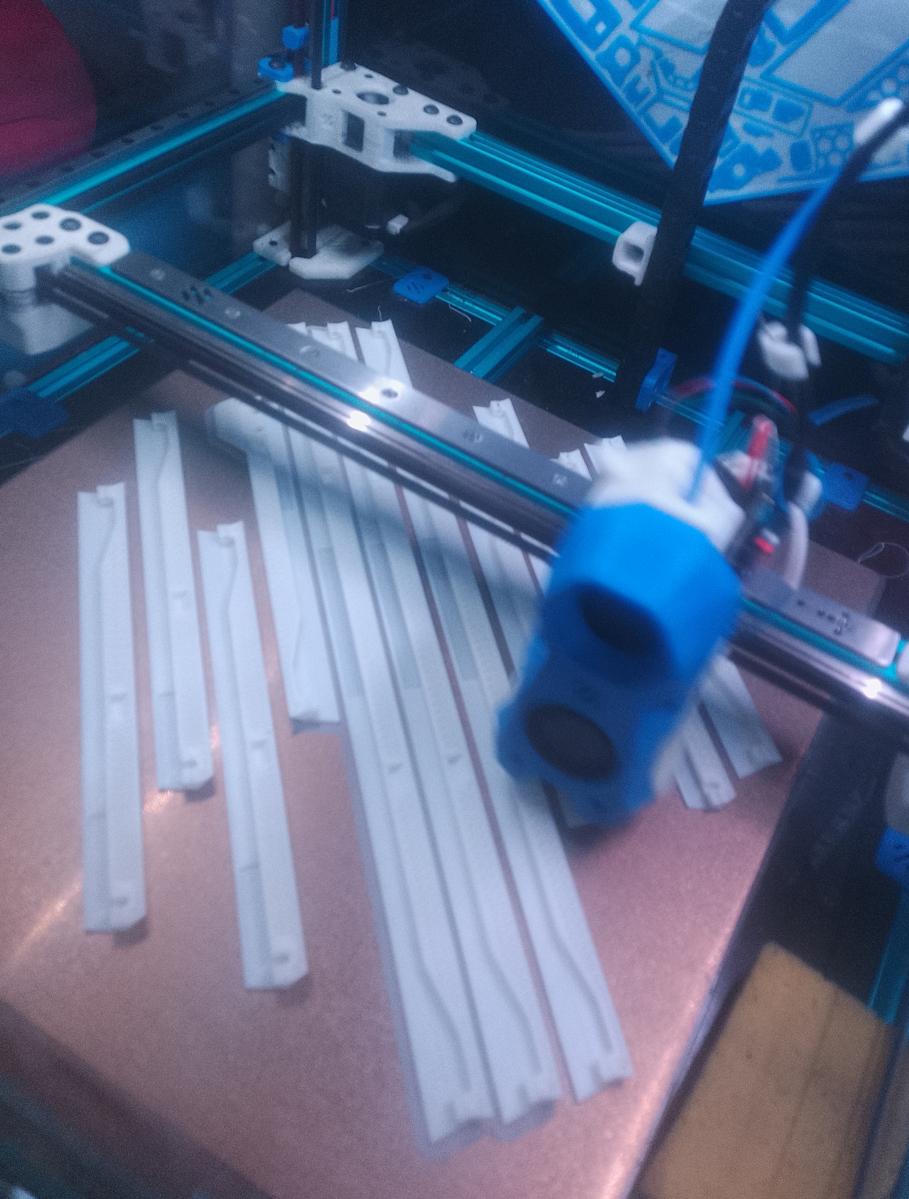
When I got my Fysetc Voron 2.4, 350 kit, almost a year ago, I built it as it was written in the manual: stock. I bravely followed the guide and printed the clips, the print-in-place hinges, used those awful nuts to screw the panels down. Of course the print-in-place hinges were not moving, because I had no idea how to set the tolerances and extrusion multiplier on my Sidewinder X2, so I had to find alternatives. I ran into a post from @Buurman and @mvdveer which was discussing hinges (thank you my fellow Dutchies!) So I used one of those. Getting the enclosure sit right, took me longer than any other parts of the manual. When I needed to do something with my stock-afterburner, I had to remove a side panel. It took me so long, that I decided to look for an alternative. I considered magnets, but decided to print the clips that would self-lock. Once the filament you use to get it work, started breaking off, I replaced them with yet another handy alternative. I also used the 270 degrees mod for the doors and another mod to stiffen up the doors. I still was not happy with how it worked and looked... Before A couple of weeks ago I saw a picture of the Monolith Panels, but didn't realize it was a mod. I was surprised to see it was on a 2.4! So I looked further. I finally had some time to build it, so I thought I'd share it with you. Monolith Panels uses a few verticals, horizontals and corners that attach to the edges of your acrylic panels. Once it is assembled, all you have to do, is to click it on your printer frame / extrusions. It is a cheap mod, and requires little hardware. It is available for the Voron 2.4 & the Trident. For the dimensions 250, 300, 350. There is no manual, just some nice pictures. But it is not that hard to figure things out. You have to export your own stl's from the mod, for the selection you want. Here I will be describing it for my printer, the Voron 2.4, 350. I downloaded autodesk Fusion, set it up. No idea how to use it. And the first dialog that came up, was that my graphics card of my decade old laptop wouldn't be good enough. Well... It did well enough to study the CAD and to export the required parts as STL... I will describe the cad here, so you do not have to go through the painstakingly slow process as I did. - Every panel is held in place by 4 'corner' pieces, in 4 corners. - Every panel requires 2 horizontal pieces and 2 vertical pieces - The back panel does not use verticals or horizontals, just 4 simple-corners. - The top panel uses 4 simple-corners and 4 [H- horizontals]. - The side panels use 2 simple corners on the back, 2 hinged-corners (corner A & corner B for the right panel, corner C & corner D for the left panel) - The side panels use 2 [H-horizontals] and 2 [V2-V-verticals]. - The doors use 1 [V2-V-vertical] and 1 [door-handle A / B] and corners A & B (right door) and corners C & D (left door). - To clamp down the door handles, you need 2 door-handle-clamps each. - To clamp down the A/B/C/D corners, you need a corner-clamp for each. The required hardware, is as a BOM list on the github. I used the following: - M3 screws, 16mm, 32 pieces - M3 hex nuts, 32 pieces - M3 heat inserts, 12 pieces - M3 screws, 8mm, 12 pieces - VHB tape - Foam tape - 4mm PTFE tube (I used 4 pieces of 3mm pins I had) Now, the fun part: what to print? Corners: - Experimental CLAMPLESS CORNER - (4 x top panel; 2 x left panel; 2x right panel; 4x back panel) 12 pieces - Hinged corners - 2x A, 2x B, 2xC, 2xD - V2-V Verticals - 6 pieces - H- Horizontals - 8 pieces - Door A - horizontal - 2 pieces - Door B - horizontal - 2 pieces - Door handle clamp - 4 pieces - Corner clamps - 12 pieces - Clips - 60 + ( more about the clips later). So, I started printing enthusiastically all the pieces that said V2 350. The Length pieces and door handles ...

-

Version 1.0.0
60 downloads
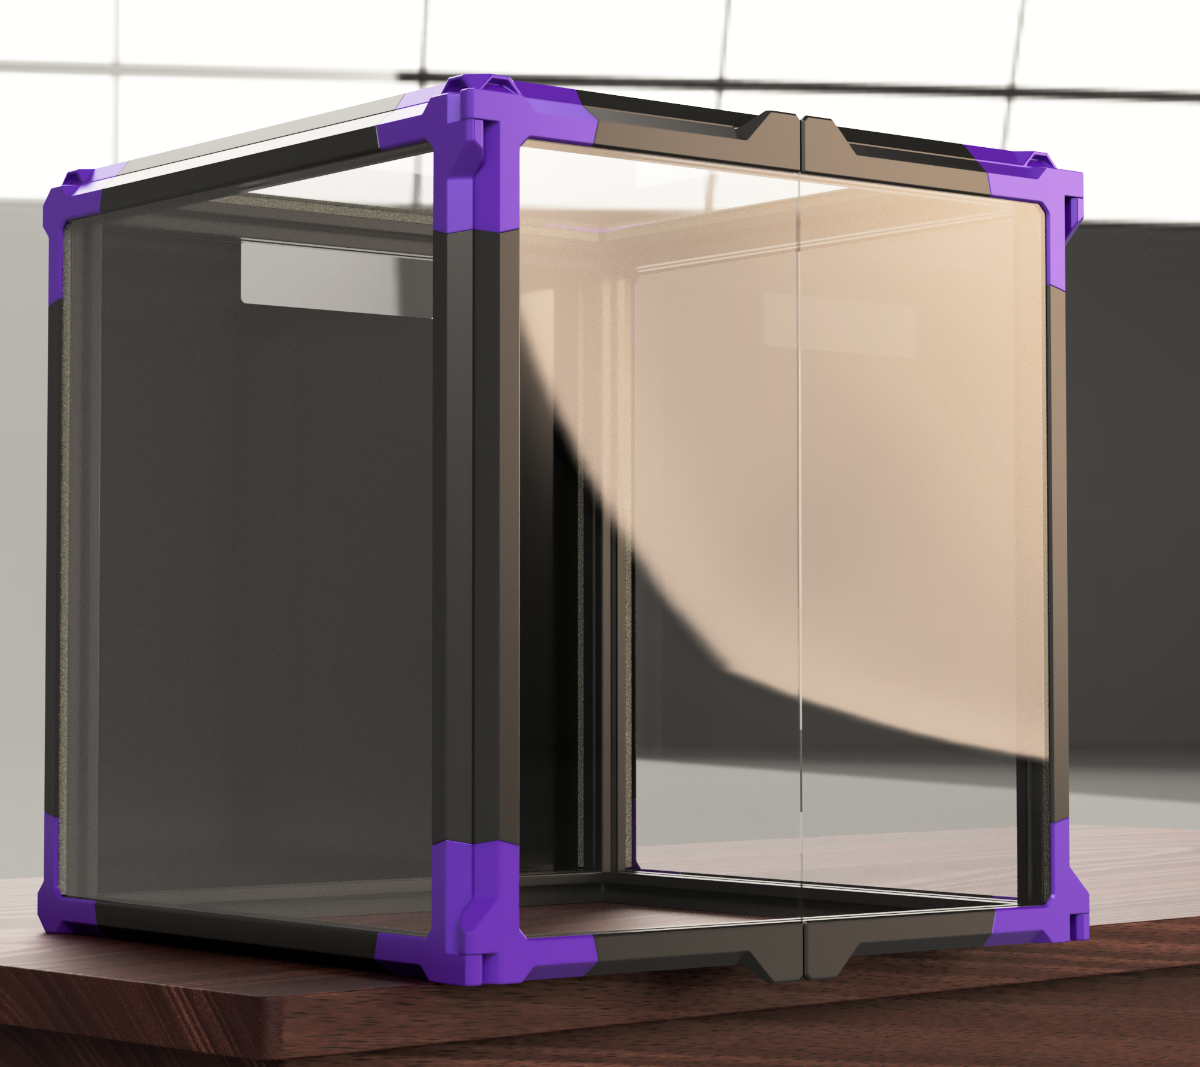
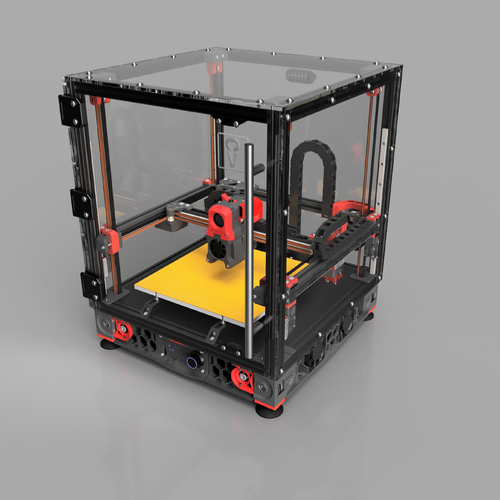
The Clearview Infinity mod for the Voron 2.4r2 and Trident is an upgraded enclosure system that offers both better performance with a commercial grade design aesthetic. The name "Clearview Infinity" correlates to the visual aesthetic of the transparent panels. 1/4" HD polycarbonate panels and oversized hardware are designed to take give this a commercial grade fit and finish. More so, the added function that this enclosure set adds is better heat retention for advanced printing, reduced noise while printing, and a strong sturdy enclosure that feels like a professional piece of lab equipment. All due respect to the Voron team for making an amazing printer, but we thought the enclosure portion needed some help. Open Source mode: We want to offer a way to open source this mod for those who DIY. At the same time, we build these enclosures to make a living and we put a lot of work into the design, function, and finish of the enclosures we make. That said, we will give you alternative open source parts that you can use to complete your own Clearview Infinity enclosure or it is available for purchase through our website. In the spirit of being a maker, we'll happy to share our idea and the work it takes to make a great product. What is included (BOM) 5 Polycarbonate panels (5.5mm or 6mm) (Front, sides, rear, and top) 52 m5 x10mm flanged screws 52 m5 half round extrusion nuts 16 m4 x10mm flanged screws 12 m4 Rivet nuts 4 5mm x 10mmx 5mm magnets 1 - 256mm pull handle 1 press fit bowden holder 1/4" wide weather seal Printed parts 3 - 270 degree hinges 2 - Magnetic brackets 1 - combination rubber grommet Panel 1 Front 421mm wide x 435.5mm tall Panel 2 + 3 Sides 410mm wide x 430mm tall Panel 4 Rear 421mm wide x 430mm tall Panel 5 Top 421mm wide x 415.5 deep Hinges 1/4" x 1/8 Gasket Material Interactive model https://myhub.autodesk360.com/ue2bc5d44/g/shares/SH9285eQTcf875d3c53959473f32555af79b