Jump to content

RockNRoll v. 2022.05.21

   (5 reviews)

12 Screenshots

  • Like 35
  • Voron FTW! 4

Review Averages

4.4 out of 5 stars
60%
20%
20%
0%
0%

User Feedback

Join the conversation

You can post now and register later. If you have an account, sign in now to post with your account.

Guest

  • This will not be shown to other users.
  • Add a review...

    ×   Pasted as rich text.   Paste as plain text instead

      Only 75 emoji are allowed.

    ×   Your link has been automatically embedded.   Display as a link instead

    ×   Your previous content has been restored.   Clear editor

    ×   You cannot paste images directly. Upload or insert images from URL.

JacquesM


Thank you for the design, works really well.
I printed it with ABS, less brittle and easier to print then ABS. Since it's installed outside of the chamber temperature is no issue.

Be careful to slice without supports AND (in CURA) without the option "Make the overhang printable" !

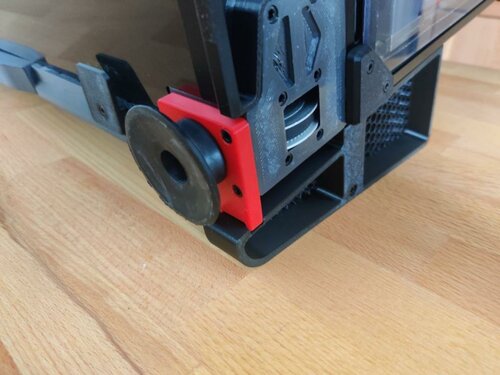
I did not use the baseplates and it does not seems to be a problem, strong enough by itself.

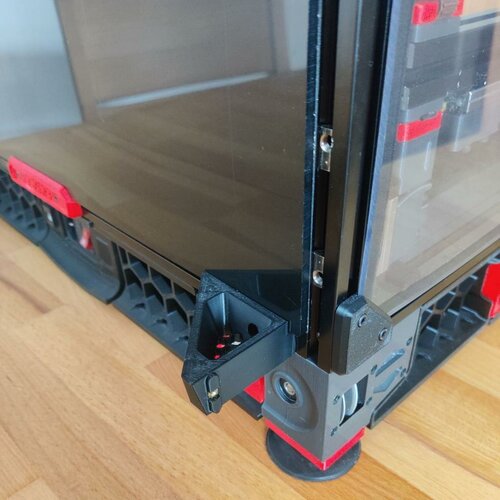
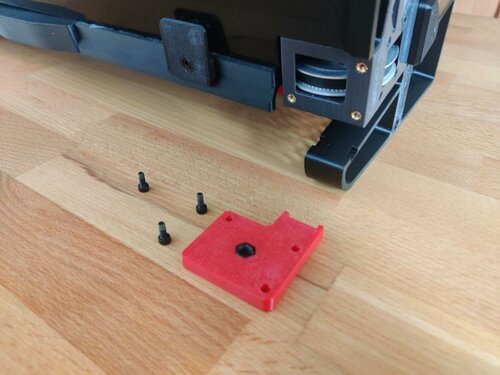
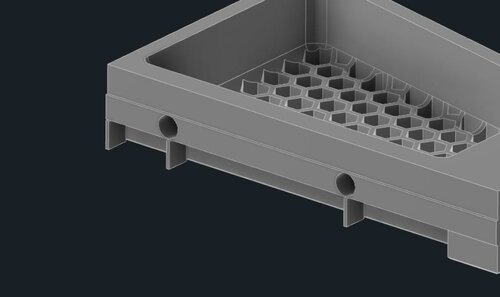
I would suggest to provide holes in the structure opposite to the screws, it would make aligning with the T-Nuts and using screw-drivers much easier.
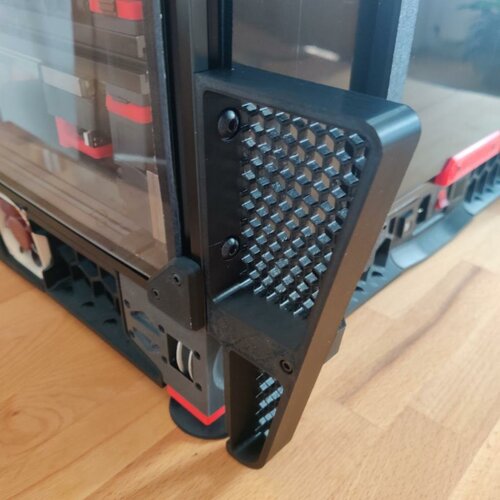
Also why not design the honey-comb towards the outside instead of the inside, would it not be nicer ?

Link to review
hamishi

· Edited by hamishi

   0 of 1 member found this review helpful 0 / 1 member

I really wanted to have these, but the print always went bust when it started to do the honeycombs. VORON 2.4 Dragon HF 123D Jupiter ABS filament. Print setting according to VORON parts. Heated bed at 115C initial layer 245C after that 235C. I had it with the stock AB and with the AB-BB mod.

Can these STLs be modified to a set without the honeycombs? I tried to do it in SketchUp but that is a pain to do.

I edited the STL in Tinkercad in order to remove the honyecombs and added an extra support in the large hole. I haven't printed it yet.

Now printed and installed. 

DSCI0243.JPG

Response from the author:

Sorry that you're having issues with the print. I included the step files, so you can edit them easier.

It's probably a printing issue though, and has nothing to do with the model. To me it sounds like you are printing way too cold. Usually ABS prints at 250 degrees.

Best of luck

Link to review
Mark

   1 of 1 member found this review helpful 1 / 1 member

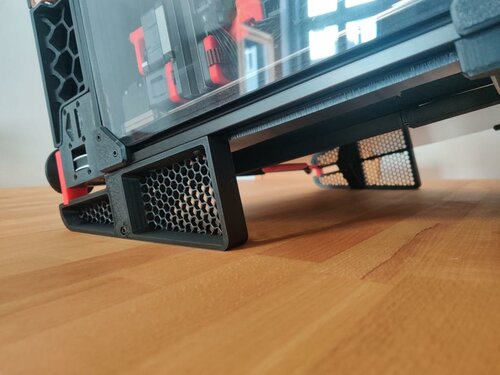
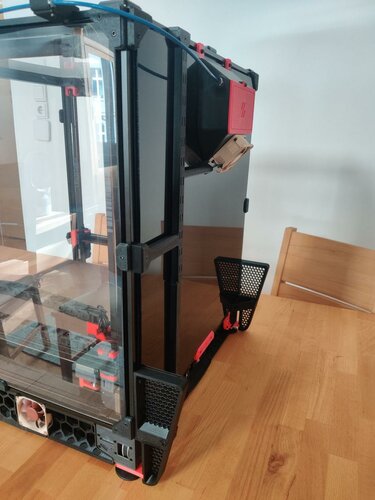
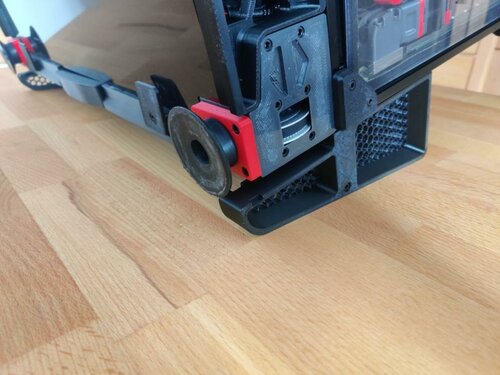
Works really well, even at the build stage of my new 2.4. Perfectly placed fulcrum point so it can tilt up as in the photo while building. As previously mentioned, it makes it easy leaving the plug in while working on it.

These will go to my existing 2.4, I will reprint with the grill pattern white to match my b/w 2.4 in photo.

Thanks for sharing the files. Simple, smart, solid and functional.

20220703_113643.jpg

  • Like 1
Link to review
jangrewe

   1 of 1 member found this review helpful 1 / 1 member

I just put these on my 2.4 350 because i'm planning to do a bit of upgrades this weekend, and they're amazing!
Easy to install, perfect instructions and super solid construction.

Now i can tip, tilt, slide my printer around and don't have to worry about unplugging everything.

Thanks a lot for creating these, they should be included in the upstream STLs. 😉

  • Like 3
Link to review
annan

   1 of 1 member found this review helpful 1 / 1 member

Solid addition to my build!  So much easier to get at the electronics.  All parts went on seamlessly.  I appreciate the that went into designing this to be rock solid.  Thanks!

  • Like 3
Link to review
 Share


User Feedback

×
×
  • Create New...